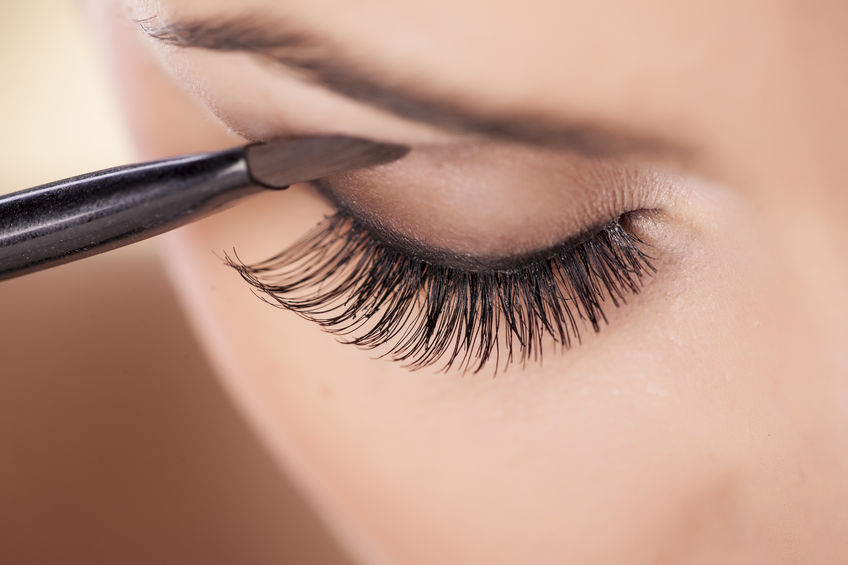
5 Easy Tips for a Smoky, Sultry Eye for the Office
For some, it’s the ungettable get: the mysterious and sultry makeup look that sirens have donned throughout the ages, from Cleopatra to Clara Bow to Cindy Crawford – the smoky eye. (In her Emmy acceptance speech this year, Amy Schumer even thanked her makeup artist for giving her the look!)
It’s an art to accomplish a come-hither stare rather than a sad panda wave, so here are some hacks to sport a sophisticated smoky eye this season:
1. Start with a Transition Shade. Pick a color that’s close to your skin tone, and run it with a fluffy brush through your crease, right above your eyelid. This will act as a base that allows colors to blend seamlessly over it, and create that subtle, “gradient” effect we’re all after.
Pro-tip: If you’re in a hurry, simply use a creamy black, gray or brown eyeliner, and smudge it along your upper and lower lashline. Blend upwards with your finger or Q-tip and you have an instant smoky look.
2. Add a Touch of Warmth. Even if you’re going for a cooler-toned look using blacks and grays, use a warm brown as a blending shade. It makes the look more lived-in and less harsh. So after you place color in your crease and on your eyelid (go for something that’s deep, but keep your skin tone in mind, and make sure it jibes with your coloring), dip a brush into a warm brown tone, and blend the two seamlessly until you’re seeing the results you want.
Pro-tip: If you make a mistake, dip a Q-tip in concealer, and run it over the patch you want to correct. The concealer will pick up the shadow or liner without ruining the rest of your look. You can then go back and touch up.
3. Blend, blend, and blend. Get some good brushes. Good doesn’t necessarily mean expensive; there are tons of value sets on the market ranging from EcoTools (found at local drugstores and ecotools.com) to Real Techniques (found at Ulta, Target and realtechniques.com) to Bobbi Brown, MAC, and Chanel.
Just remember: stiff, flat brushes are for placing color, and fluffy, dome-shaped brushes are for blending it. It’s important to understand and use both to achieve a professional-looking smoky eye. And when you think you’re done blending, blend some more. There should be no harsh edges or obvious color lines.
Pro-tip: If you feel the look becoming stagnant or one-dimensional, choose a shimmery shade of eyeshadow, and dab on the center of your eyelid with your finger. It will catch the light and open up your eyes.
4. Keep the Inner Corner and Brow Bone a Light Shade. For traditional smoky eyes, the color is darkest at the lash line and fades as it goes up and in. So place a lighter color than your skintone underneath your eyebrows and on the inner corner of your eyes. It keeps the eyes from being too closed-off, and maintains a flattering, lifted look.
Pro-tip: The most pleasing shades for highlighting the eyes usually have a slightly golden undertone, so they can also be used on the tops of your cheekbones and on your cupid’s bow (right above your top lip) to draw attention to both the highpoints and center of your face.
5. Consider Using Alternative Colors. Don’t feel like you have to stick to black and silver — for instance, brown is particularly flattering, especially for a daytime look. You can also do a beautiful plum, olive or navy smoky eye, which makes things a little more modern and interesting. You can play with any colors you like as long as you remember to use different shades and, of course, b-l-e-n-d.
Lastly, be thoughtful in choosing which color to use on your lips and cheeks. It’s customary to go for neutral blush and lipstick so as not to overwhelm the face or take attention away from the eyes, but if you’re going for a specific, more dramatic look, there’s nothing wrong with incorporating a berry lip for unexpected interest. Take your time and practice different looks and different techniques; that’s the fun of it.
Whatever you choose, make sure you’re comfortable with it. That confidence will radiate and allow the makeup you wear to enhance your features, rather than hide them. If you’d like any specific product recommendations or a step-by-step guide, leave a comment below!
28 Interviewer Interview Prep
 Impactful Mentees
 Benefits of a Mentor
 Advice for First-Time Managers
 Overcoming the 18-month Itch
 Dressing for Your Style
 Interview Style Tips
 Women's Stocking Stuffers
 Gift the Busy Traveler
 Father’s Day Gift Guide
 Airport Layover Activities
 Traveling & Eating Healthy
 Travel Like a Boss Lady
 The Dual California Life
 Gifts for Thanksgiving
 Summer Reading List
 Top Leisurely Reads
 New Year, New Books
 Life Lessons from a Sitcom
 Oprah, Amy or Amal?


