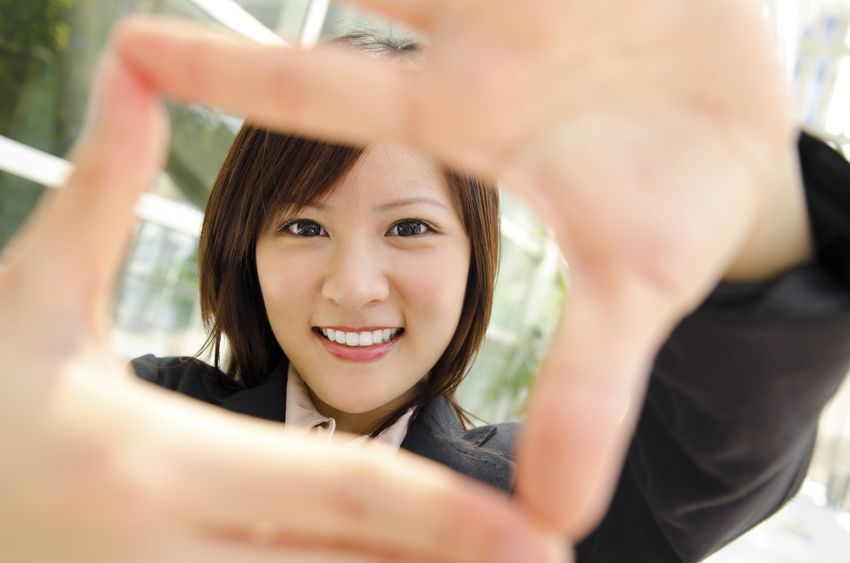
Getting the Perfect Business Photo can be Done on a Budget by Following a Few Simple Rules
The days of Friendster and MySpace are long gone – social media has come a long way from its roots as a place for connecting with friends and listing your favorite bands. Today the “social” in social media has less meaning – i.e. you are just as likely to use it for professional connections. And as employers and professional contacts increasingly use social media platforms to connect, the image you project with your profile photo matters more and more.
The Importance of Profile Photos
When was the last time you took a hard look at the head shots on all of your social media profiles? A 2014 study on the psychology of social media showed that the first thing people look at on a profile is the photo, and that we draw conclusions about people based on their photo in less than a second. It’s true that you never get a second chance to make a first impression, and the image you project with your profile photo can make or break it.
If you’ve assessed the profile photos you’re currently using and decided that they look more like mug shots than head shots, but you can’t afford to hire a professional photographer, don’t fret. The findings from research on the most effective profile photographs on sites like LinkedIn, plus a few tips from pro photographers will go a long way to helping you take your own photos for social media.
Interesting Research: What Makes a Good Head Shot
You don’t have to turn to plastic surgery to make yourself more appealing, but you do need to know how certain poses and types of photographs affect how you are perceived. Researchers at England’s University of York analyzed over 1,000 images of faces from profile photos to discover which facial characteristics make the best first impression. Photos were rated on several dimensions, including likability, attractiveness, competence and influence. Surprisingly, their findings suggest that perceptions of a photograph can be altered by head position, angle of the photo, and smile. The quick takeaways from the study that you can use when taking your own head shots are:
- Show Your Eyes. Photos of people wearing sunglasses or with hair covering their eyes caused a decrease in likability and competence scores.
- Define Your Jaw Line. Competence and influence scores were higher for people with a defined jaw line.
- Show Some Teeth. While photographs with ANY smile increased the subject’s likability and attractiveness scores, a smile where teeth were showing made likability and competence scores rise higher.
- Wear Contrasting Colors. Dark-colored suits and light-colored shirts produced higher scores on all dimensions. Wearing one color from head to toe decreased competence, likability and attractiveness scores.
- Don’t Show Too Much or Too Little. Extreme close ups, photos that show only the head and photos that show full bodies scored the lowest, while head and shoulder shots and head to waist shots scored highest.
How to Take a Photo like a Pro
Now that you know what to wear, how much to smile and how much of you to show, you’ll need to think about the technical aspects of getting that perfect shot. Where you shoot, how you position your body and the best way to compose a photograph are all key ingredients in creating a photo that impresses and projects your desired image.
Professional photographer Samuel Lahoz, who has shot for high-end magazines and taken portraits of luminaries from Bill Clinton to Madonna, says there are three key things to keep in mind when taking your own photo: light, stance, and editing:
Light
Direct sunlight can be tricky for amateur photographers. To avoid unflattering shadows, Lahoz says: “Take your own photo outside, on a cloudy day if you can. If it’s sunny, stay in the shade.” Whether the photo is inside or outside, always turn the flash off and opt instead for soft, indirect lighting.
Stance
According to the pro, you’ll get the most flattering shot if your face is slightly closer to the camera than your body. “The best way to avoid looking like you have a double chin is to lean slightly toward the camera,” says Lahoz. You don’t want to look like you’re lunging at the camera, but having your face slightly nearer to it than the rest of your body will ensure that your face looks slim, and that you project an air of self-assurance.
Editing
The professional photos you see in magazines are always edited to some degree, and the same should be true for the photos you take of yourself. The first step in editing your own photo is using a free app like Snapseed for cropping, and then using the “rule of threes” to get the cropping just right — i.e. mentally divide the photo into three equal parts, starting from the top. A good general rule for head shots and profile photos is that your eyes should be in the upper third of the photograph.
You can also use Snapseed or free retouching apps like Perfect 365 to remove blemishes and put the final touches on your photo.
Remember that you may need to take dozens of photos until you get the perfect shot you’re looking for. Experiment with lighting and angles until you’re happy with the result. The time and effort are worth it: your headshot is your first chance to make a great impression!
 Interviewer Interview Prep
 Impactful Mentees
 Benefits of a Mentor
 Advice for First-Time Managers
 Overcoming the 18-month Itch
 Dressing for Your Style
 Interview Style Tips
 Women's Stocking Stuffers
 Gift the Busy Traveler
 Father’s Day Gift Guide
 Airport Layover Activities
 Traveling & Eating Healthy
 Travel Like a Boss Lady
 The Dual California Life
 Gifts for Thanksgiving
 Summer Reading List
 Top Leisurely Reads
 New Year, New Books
 Life Lessons from a Sitcom
 Oprah, Amy or Amal?


